Creating a Test Project
The following instructions are for Visual Studio, but the principles apply to all development environments.
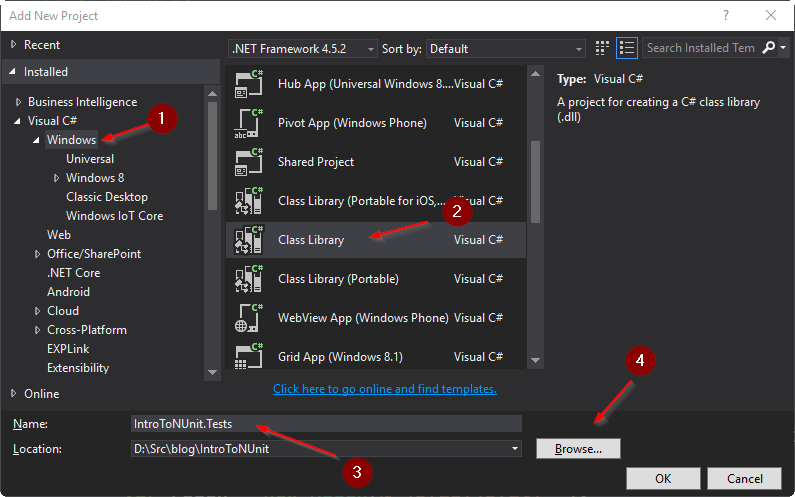
In the solution that you want to test, Add | New Project... and add a Visual C# | .NET Core | Class Library (.NET Core).
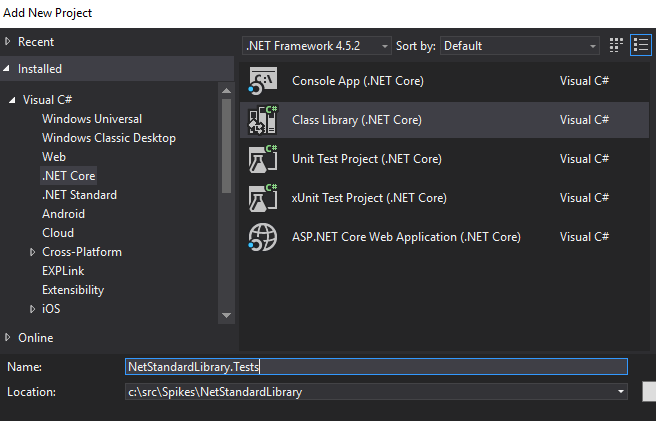
I am testing a .NET Standard library, but I am using a .NET Core class library for testing. Testing requires a platform to test on, so your test assembly must target a specific platform. I selected .NET Core, but I could also target .NET 4.5 or even multi-target the test assembly. Be aware that multi-targeted test projects are barely supported by Visual Studio and your results may vary. Hopefully we will see improvements in the tooling soon.
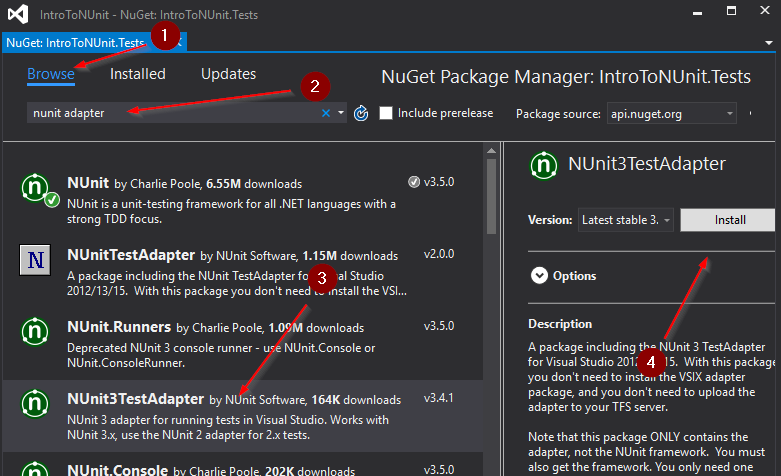
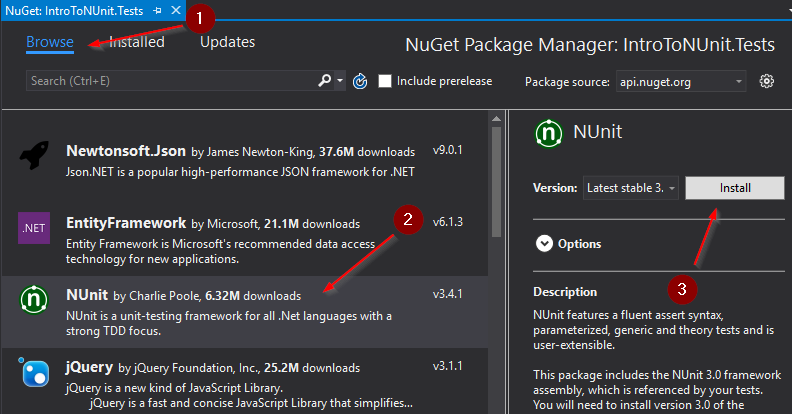
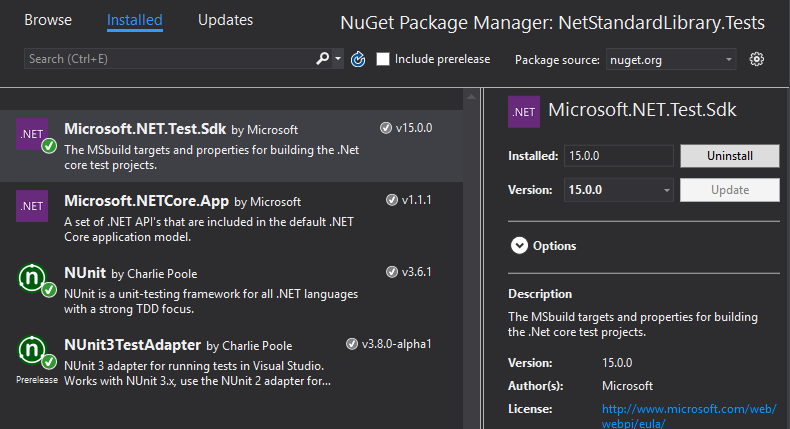
Adding NuGet References
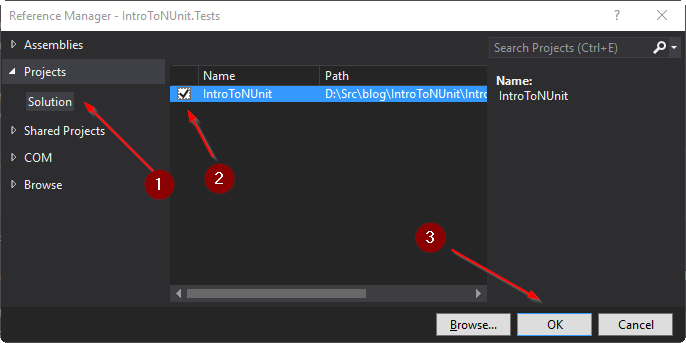
First, you will want to add a project reference to the project you are testing, then add NuGet references to the test framework NUnit 3.6.1, to the test runner NUnit3TestAdapter 3.8.0-alpha1 and to the test SDK Microsoft.NET.Test.Sdk 15.0.0. Add the references either using the Manage NuGet Packages... user interface, or by editing the project file.
Your csproj file should end up looking similar to this. Notice how much cleaner the new format is.
<project Sdk="Microsoft.NET.Sdk">

  <propertygroup>
    <targetframework>netcoreapp1.1</targetframework>
  </propertygroup>

  <itemgroup>
    <packagereference Include="Microsoft.NET.Test.Sdk" Version="15.0.0"></packagereference>
    <packagereference Include="NUnit" Version="3.6.1"></packagereference>
    <packagereference Include="NUnit3TestAdapter" Version="3.8.0-alpha1"></packagereference>
  </itemgroup>

  <itemgroup>
    <projectreference Include="..\NetStandardLibrary\NetStandardLibrary.csproj"></projectreference>
  </itemgroup>

  <itemgroup>
    <service Include="{82a7f48d-3b50-4b1e-b82e-3ada8210c358}"></service>
  </itemgroup>

</project>
From here, write your unit tests as you would for any project.
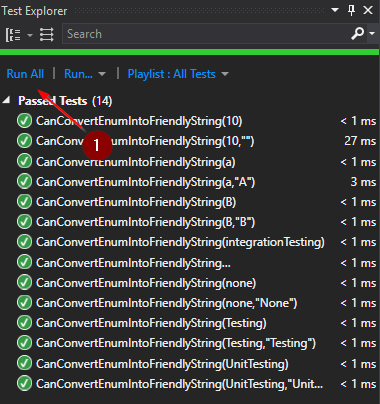
Running Tests in Visual Studio
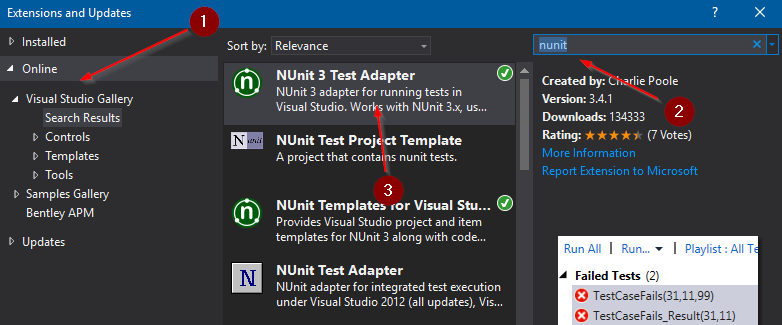
Running tests in Visual Studio hasn't changed. See my previous post on running NUnit tests in Visual Studio if you have questions.
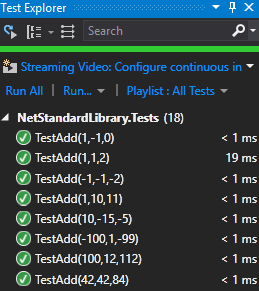
A few things to note,
- If you multi-target your tests, only one target will run in Visual Studio, I believe the first
- Code Coverage is not supported for .NET Core yet, that will be available in a future update to Visual Studio
- Live Unit Testing is also not available for .NET Core yet
Running Tests from the Command Line
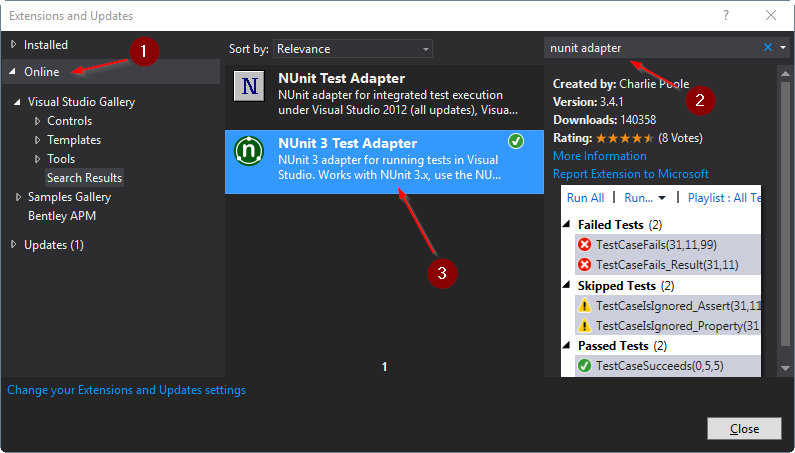
Adding the NUnit 3 Test Adapter to your project will also allow you to use the dotnet test CLI. Here is an example run with the unit tests targeting both .NET 4.5 and .NET Core 1.1.
C:\src\Spikes\NetStandardLibrary
λ dotnet test .\NetStandardLibrary.Tests\NetStandardLibrary.Tests.csproj
Build started, please wait...
Build completed.

Test run for C:\src\Spikes\NetStandardLibrary\NetStandardLibrary.Tests\bin\Debug\net45\NetStandardLibrary.Tests.dll(.NETFramework,Version=v4.5)
Microsoft (R) Test Execution Command Line Tool Version 15.0.0.0
Copyright (c) Microsoft Corporation.  All rights reserved.

Starting test execution, please wait...
NUnit Adapter 3.8.0.0: Test execution started
Running all tests in C:\src\Spikes\NetStandardLibrary\NetStandardLibrary.Tests\bin\Debug\net45\NetStandardLibrary.Tests.dll
NUnit3TestExecutor converted 18 of 18 NUnit test cases
NUnit Adapter 3.8.0.0: Test execution complete

Total tests: 18. Passed: 18. Failed: 0. Skipped: 0.
Test Run Successful.
Test execution time: 0.9096 Seconds


Test run for C:\src\Spikes\NetStandardLibrary\NetStandardLibrary.Tests\bin\Debug\netcoreapp1.1\NetStandardLibrary.Tests.dll(.NETCoreApp,Version=v1.1)
Microsoft (R) Test Execution Command Line Tool Version 15.0.0.0
Copyright (c) Microsoft Corporation.  All rights reserved.

Starting test execution, please wait...
NUnit Adapter 3.8.0.0: Test execution started
Running all tests in C:\src\Spikes\NetStandardLibrary\NetStandardLibrary.Tests\bin\Debug\netcoreapp1.1\NetStandardLibrary.Tests.dll
NUnit3TestExecutor converted 18 of 18 NUnit test cases
NUnit Adapter 3.8.0.0: Test execution complete

Total tests: 18. Passed: 18. Failed: 0. Skipped: 0.
Test Run Successful.
Test execution time: 1.1661 Seconds
The tests run for both targets and that you get the output from the dotnet test command, not the normal coloured NUnit output that you would get from the NUnit Console. Hopefully we will be releasing an updated console runner in the near future.
]]>